Watercolor Illustration – How to Creat – Step by step
In over 10 years of working as an illustrator, I’ve realized that each story and each book is a unique world. For example, illustrating for toddlers is different from illustrating for elementary school children, books for teens differ from those for adults, romantic poetry is not the same as adventure stories…
However, the basic steps of turning text into illustrations remain largely the same. Here is my step-by-step process for creating a hand-drawn watercolor illustration from a descriptive text. Hopefully it will be useful for anyone looking into the process of illustrating a book, especially self-published authors.
Read more: How to Create Clear Scene Descriptions for Illustrators
For example, let’s take a look at this scene description:
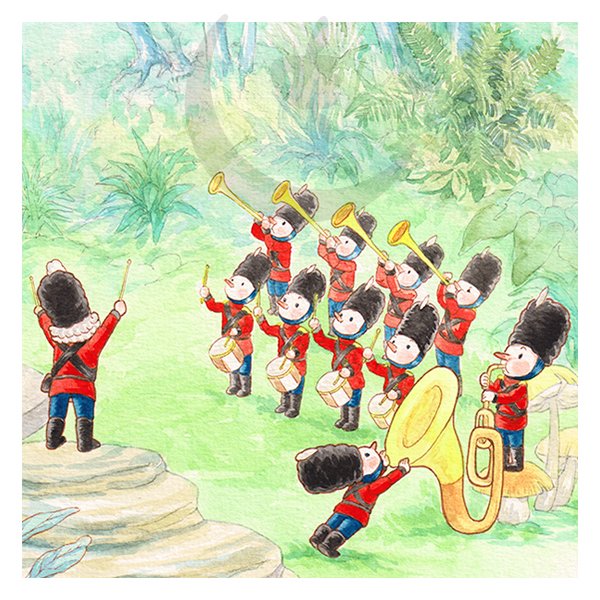
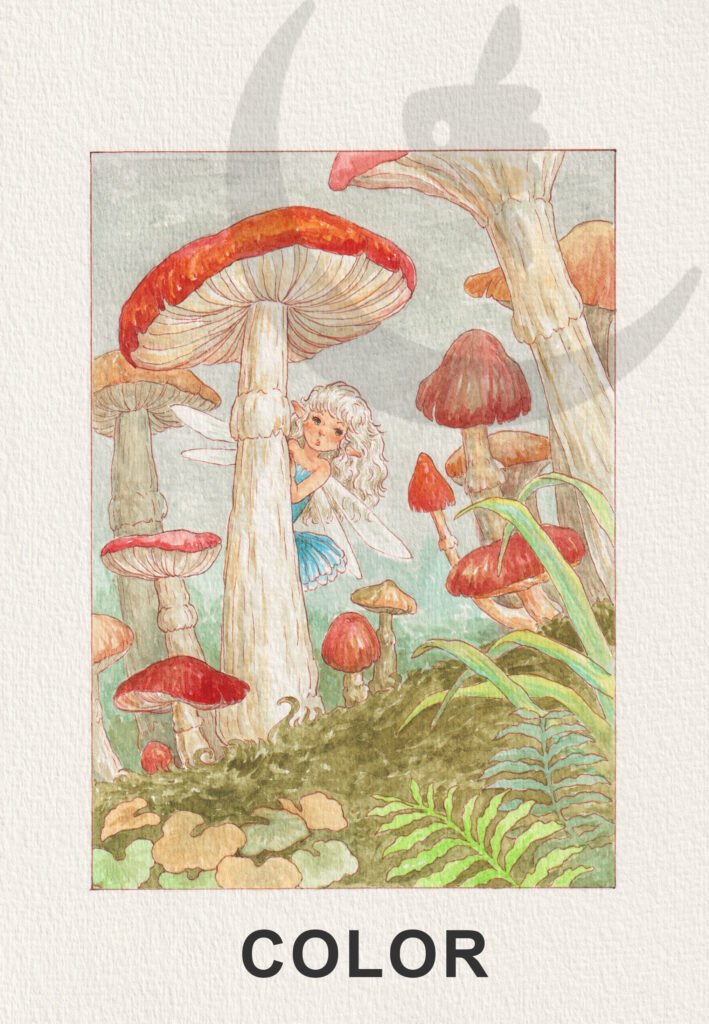
A little fairy, white hair, wearing a blue dress, hiding behind a giant red-cap mushroom. There are many large and small red-cap mushrooms in the background, with green grass or moss covering the ground.
Step 1: LAYOUT
First, I select key visual information to build the LAYOUT, focusing on the “visual keywords.” After arranging the elements in a visually harmonious composition, we get the following result:
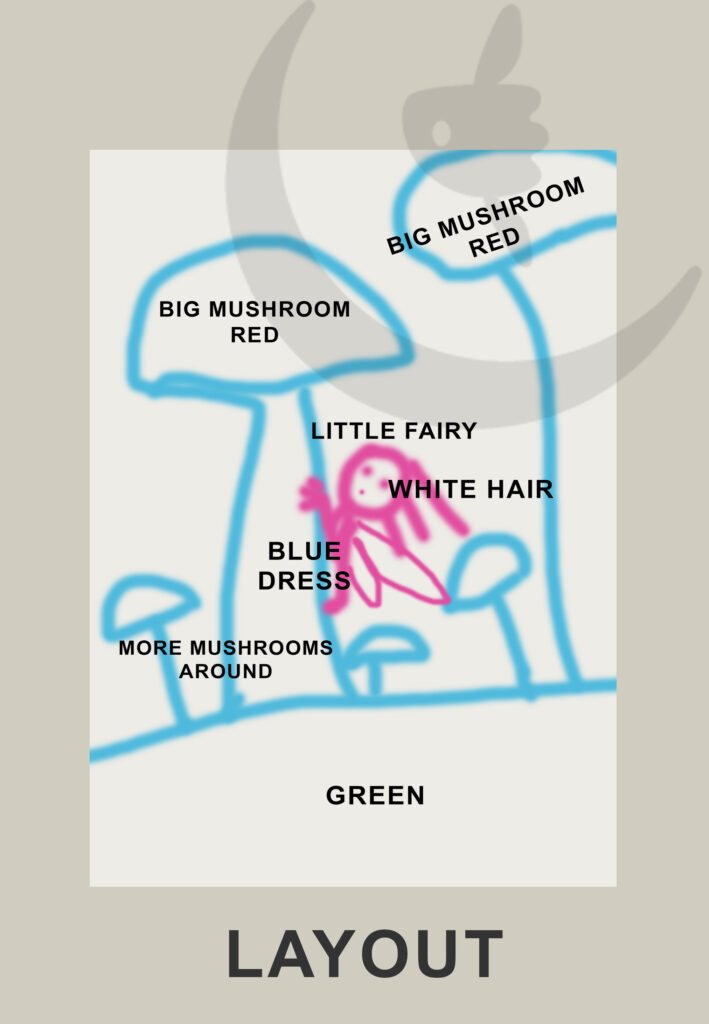
Then, I collect feedback from the client and make adjustments if needed before moving forward.
Step 2: SKETCH
After confiremed the LAYOUT, I create a detailed pencil SKETCH based on it. At this stage, I clearly draw and define all shapes and details on paper Here’s the result:
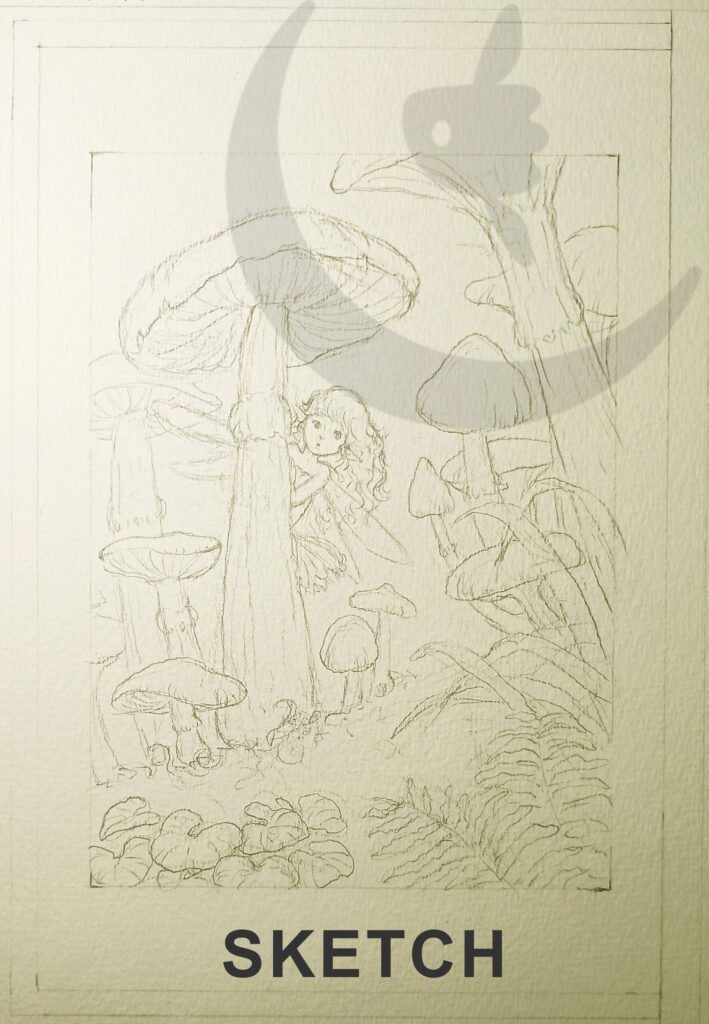
Also, clients may request edits at this stage, and I can easily erase pencil lines if needed. However, excessive erasing can damage the paper, so edits should be minimal (e.g., slightly bigger eyes, longer hair). Proportions and positions are already set in the LAYOUT phase.
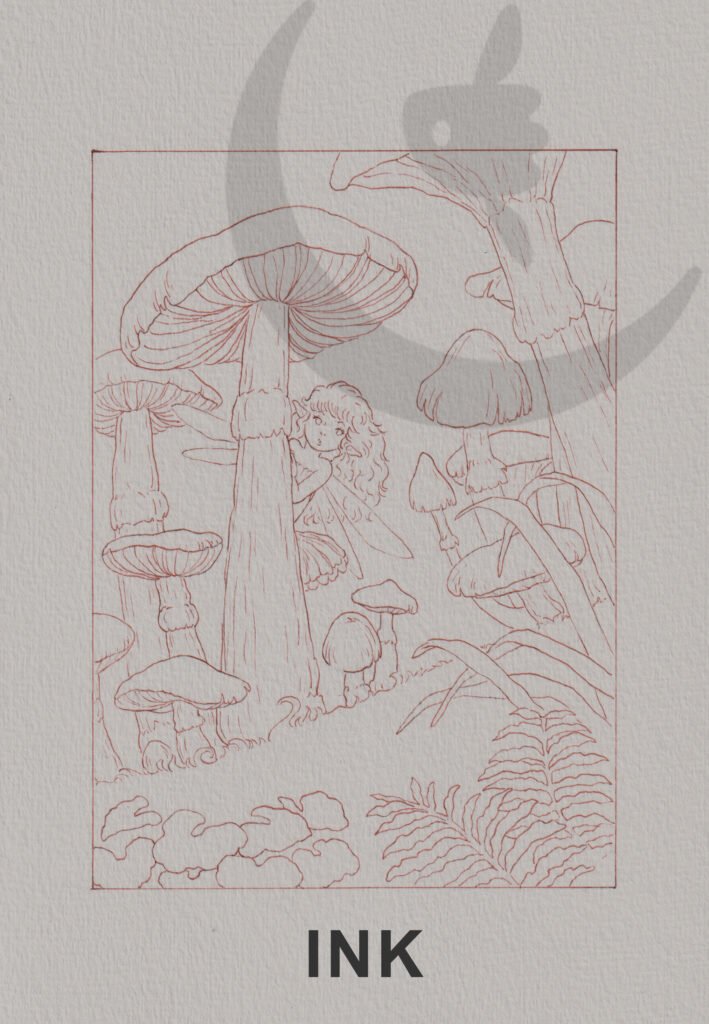
Step 3: INK
After approving the SKETCH, I INK the drawing using brown or gray ink. From this point on, edits are impossible as the ink cannot be erased.
After inking, I will erase the pencil lines. The cleaned inked version looks like this:
Step 4: COLOR
Finally, I move on to coloring. In the inking and coloring stages, I mostly work independently. Clients can provide color notes, but the final color choices are decided by me to ensure aesthetic harmony.
Of course, I will still color the red cap mushroom red, but whether that red is bright or pale, dark or light… on the watercolor illustration, I will choose myself, carefully.
Once the coloring is complete, the watercolor illustration is scanned, processed in Photoshop (cleaning, brightening, adjusting contrast etc.), and finalized as a high-quality image ready for print. I usually deliver a 300 dpi JPG (bitmap).
Here’s the final result:
In some cases, I also provide a version with a transparent background (PNG). However, as my main focus is illustration rather than photo editing, if you need a large number of PNG files, it’s better to have a dedicated photo editor handle that part.
I hope this article is helpful. If you’re a self-published author, looking for a professional watercolor illustrator, or have a story you’d like to bring to life, please feel free to contact me – I’d be happy to help you get started.